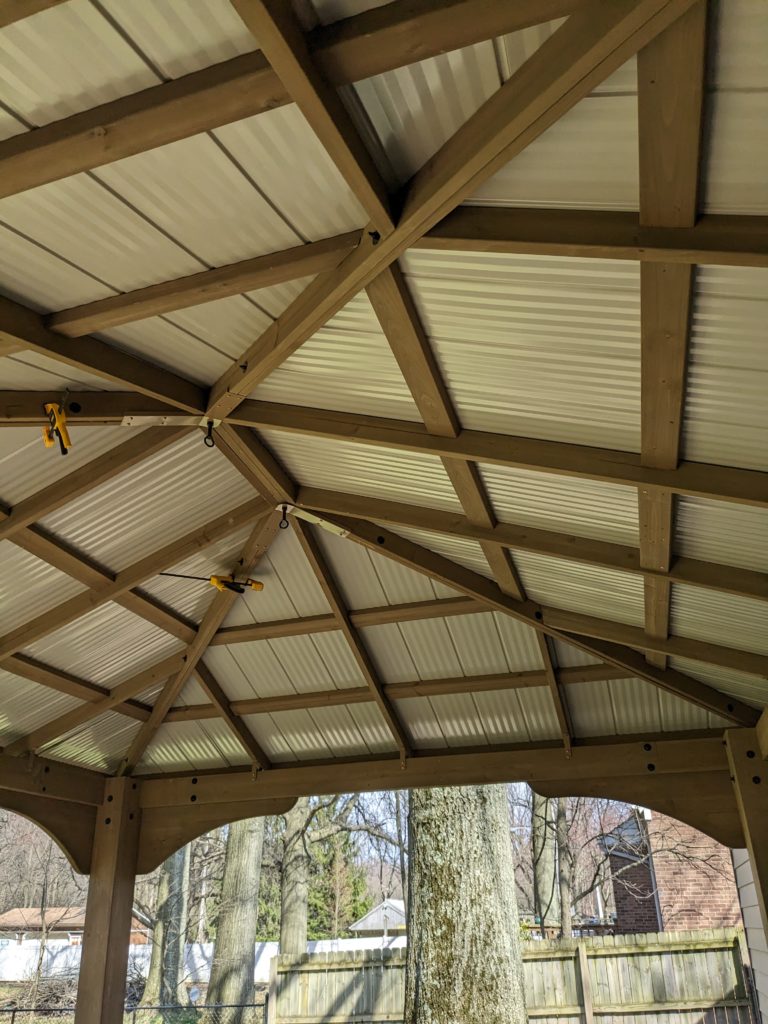
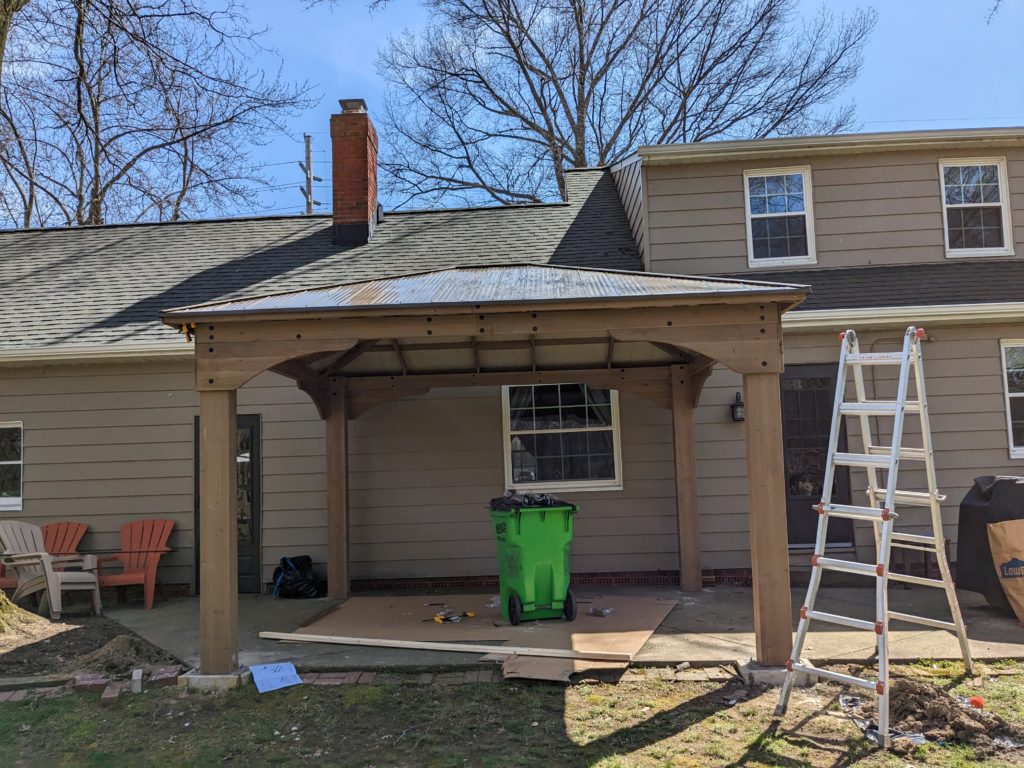
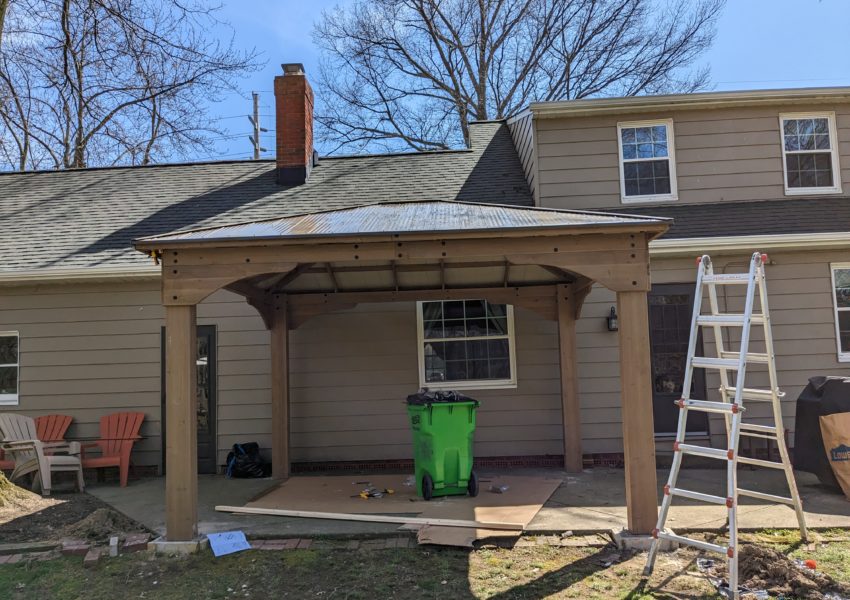
This spring we saw the Costco Yardistry Gazebo for a great deal in the store, and a good challenge to assemble in 3 days while visiting extended family. This isn’t a full assembly guide but a highlight of helpful steps in the process.
Getting it home
We knew we’d have to come back, so I had some time to try and figure out if we actually could get it home. We’d rented a Ford Expedition, and with all the seats down and just the driver it still didn’t completely fit… so keep that in mind. Costco doesn’t have box dimensions listed, but I finally found them on the Yardistry page: https://yardistrystructures.com/12-x-14-meridian-gazebo/ . Costco crew was very helpful shoving it in with me and providing twine to tie the hatch closed.
The 12’ x 14’ Meridian Gazebo is packaged in 3 boxes:
Box 1: 104” L x 22 ½” W x 9 ¼” H = 210 LBS
Box 2: 104” L x 22 ½” W x 9 ¼” H = 175 LBS
Box 3: 104” L x 44 ¼” W x 5” H = 248 LBS
Placement
The patio this was going on was roughly the same depth the way it was being placed. It was hard to determine the roof overhang from the posts to sort out how close to the house they should be mounted. All I can say is it’s roughly 6″ on each side.
Parts Assembly
Overall, this was a well designed kit with quality parts. Get prepared for assembling many of the smaller parts into some key assemblies. The post and beam assemblies go together fairly quick and easy, the rest were fine but took more time.
- Posts: Don’t add the trim around the base until after you’ve mounted it where it’s going. This was helpful and meant I didn’t have to damage these pieces trying to bolt it in place.
- Beams: straightforward
- Roof
- There are 4 of these and take ALOT of pieces.
- Removing the plastic protection from all the metal roofing pieces easily took an hour with a couple people… this is task to work on ahead of time by anyone.
- Pay attention to where you screw in panels and where you don’t (ex: not along the bottom) until you’ve added all the trim pieces.
Structure Assembly
Now to the fun part, most of this I did myself but here are the key tools and points at which you may actually want multiple people.
Tools
- Ladder: at least 8′ like a Little Giant, and ONE more is helpful. We got away with a little giant and a step stool.
- Clamps: I bought two bar clamps, the more the better and will allow you to hold beams in place or stabilize posts if you’re doing any of this solo. They’re also extremely helpful when placing all the roof assemblies.
- 10′ 2×4: The interior height of the roof is roughly 10′, I’m glad I bought a 10′ 2×4 because this could act like a 3rd person (and save someone from standing there forever) to hold up the center of the roof pieces during assembly. Two would have been better, and a sawhorse or two to clamp these to for stability (I used a large garbage can).
- Framing Square: very helpful for post assemblies to ensure beam and post are square. (Ex: IRWIN Tools Framing Square, Aluminum, 16-Inch by 24-Inch)
Key Assembly Moments
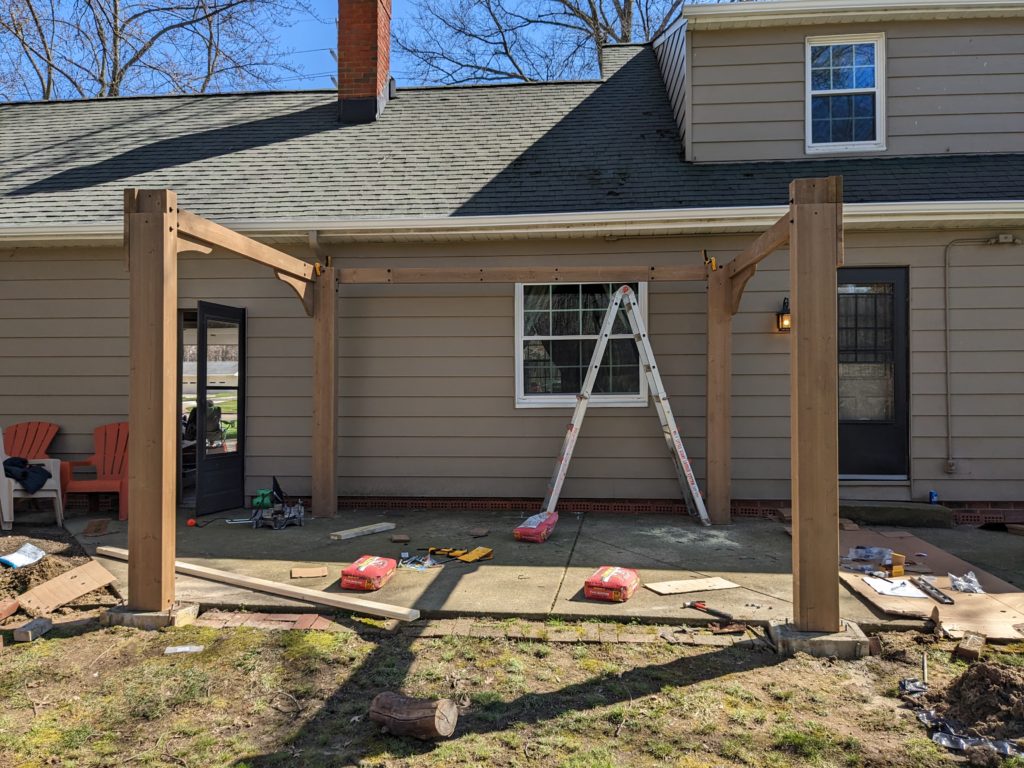
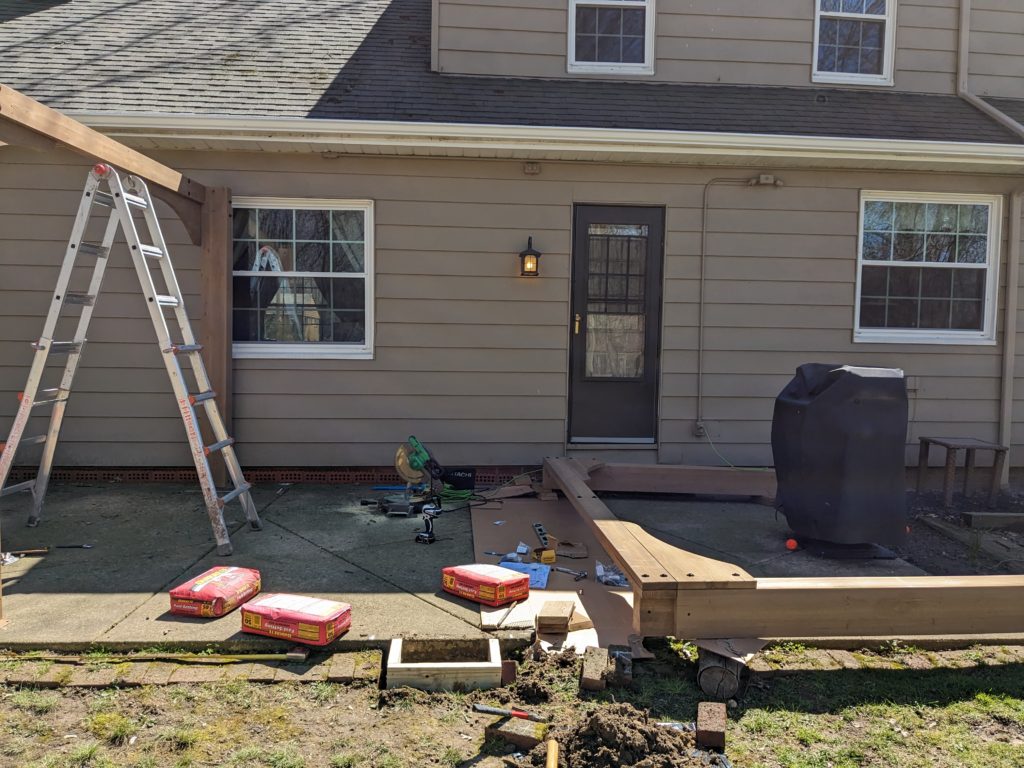
- Post assemblies
- Try to pick a square point to center one post of each assembly, then you have room to move the other side around once they are upright.
- Placing the two assemblies upright required at least another person or two, 4 made it easy. These are heavy, and tall so out of reach for most normal height people by themselves.
- Clamping the long beams to post was helpful to ensure alignment was correct and hold in place for one person assembly.
- Roof Panels
- As mentioned: ALOT of parts.
- Get working on removing plastic from metal panels before you reach the point you’re ready to attach them.
- Pay attention to where trim pieces go and where not to screw down the metal panels.
- The long panels on the large section do have a right and wrong way/top and bottom.
- One smaller piece will not get the rafter support brackets – this is important.
- Roof Assembly
- THE most critical step and most difficult. Save calling your friends for this step – you’ll need it.
- We carried the panels in and lifted them from the inside – that way we could place one end up, then raise the other while being supported by the frame.
- Placing a few screws in the rafter brackets help keep it in place while you coordinate the other pieces.
- This is where the 10′ 2×4 can be setup to support the panels while you get the others in place.
- Once you add the second panel, the clamps are key to bring the sides of each panel together and keep them in place. If they’re close you can use the clamps to squeeze it together in small increments.
- I forget if the directions say to begin bolting it together here or waiting – either way it’s helpful to start putting a bolt or two to keep the panels in place. Do this for the 3rd panel, continue using clamps and your 2×4 to keep the panels in place.
- Between the 3rd and 4th panel you have to add the ridge cap.
- The first 3 panels feel “easy” because of the rafter brackets allowing them to set in the “right” place. The 4th panel will not have them and appears to be meant to just go wherever it fits in with the other panels, then you add the rafter brackets once you have the panels aligned.
- At this step we were constantly moving around to each panel using clamps (sometimes in the spreader mode) and the 2×4’s to make subtle adjustments to the pitch and panel locations to get all the bolt holes between the panels lined up.
